The problem

Suppose you have two intersecting passages filled with detail. You cannot simply overlap one on top of the other on your plan, because it is then difficult to read which details belong to which of the two passages.
The usual solution is to faithfully depict only the topmost passage on the main drawing, marking the passage(s) underneath with faded colors in the background or a dashed line. Details of lower parts of the cave are then represented on an extra window, which is laid out slightly offset to the actual map.
This tutorial explains how to automatically generate that window and even make it automatically update when you change anything on your main drawing.
You can either use the example file to complete the following steps or make your own example as you go.
Layering
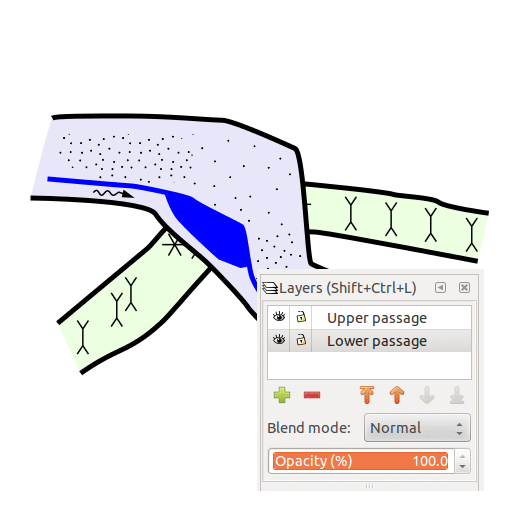
In order for this to work, you need to put your passages in two different layers. In this example, we will use a slightly transparent, solid fill. For clarity, the upper passage is somewhat blue-ish, while the lower one has a touch of green. The upper passage has a streamway and sand, whereas the lower passage is well-decorated. They both deserve to be present on the drawing!
Prepare
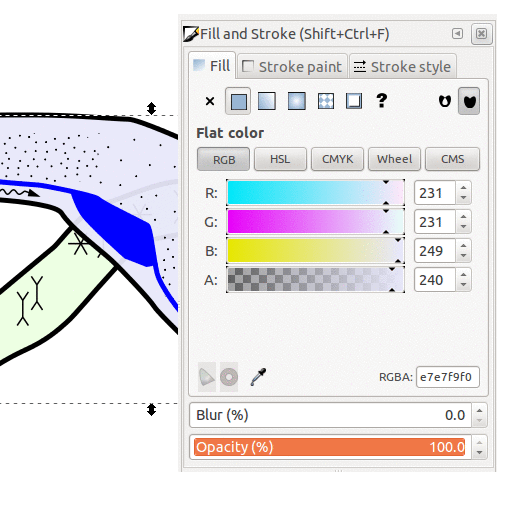
Select the passage fill, go to Fill and Stroke and adjust the "alpha" (A) component of the color so that the lower passage is barely visible. Repeat for the lower passage fill. This is how your main map will look like. Now, let's make the offset window.
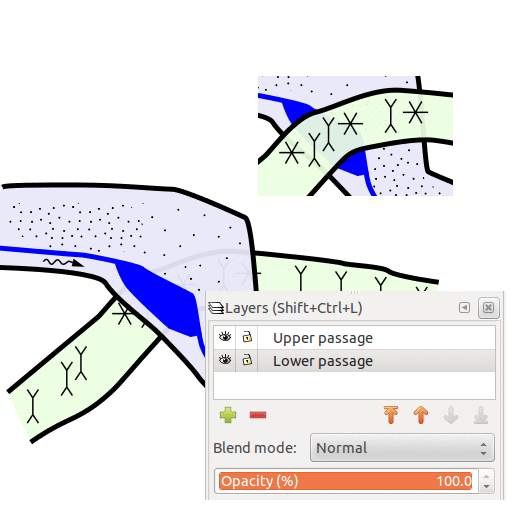
Set up layers
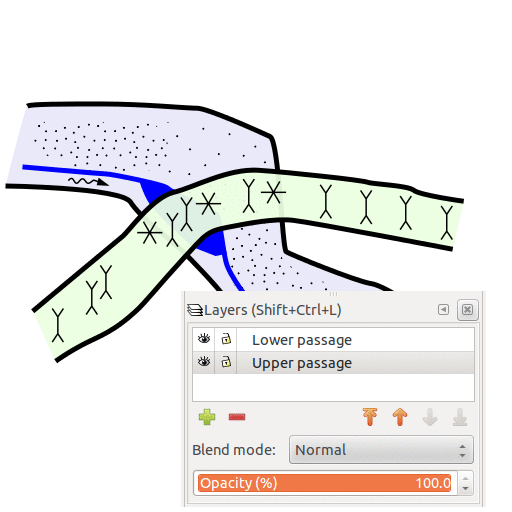
Change the ordering of layers - make the lower passage the topmost layer.
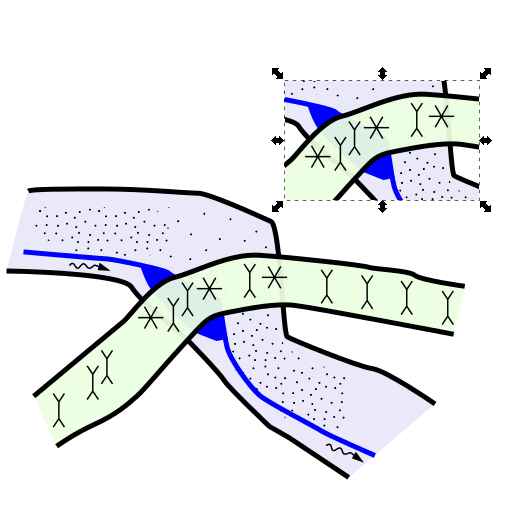
Define the view

Create a rectangle covering the area where passages intersect. This rectangle defines what will be depicted on the offset window. Make sure it is selected as the current object before running the extension (dashed lines and some control icons around the rectangle).
Run the extension
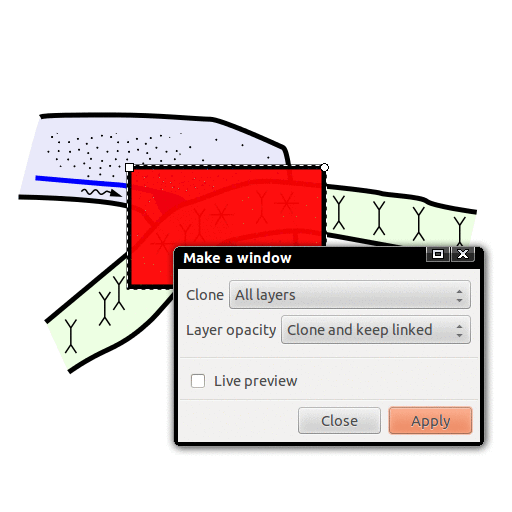
Select Extensions/Speleo/Layer tricks/Make a window from the drop-down menu. Select Clone: All layers and Layer opacity: Clone and keep linked. Click Apply.. The rectangle should disappear.
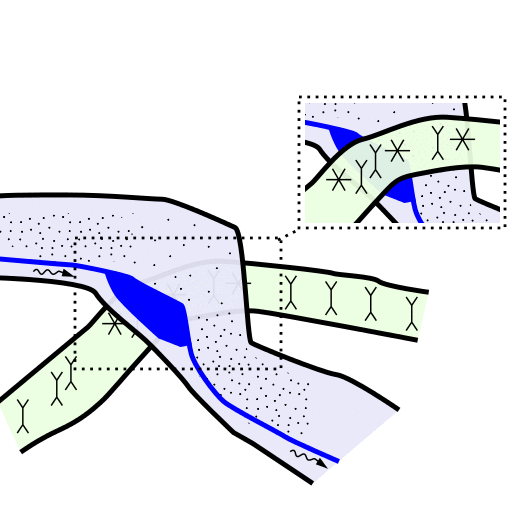
Position your offset window
Now you can drag your window from where the rectangle has been to its final position.
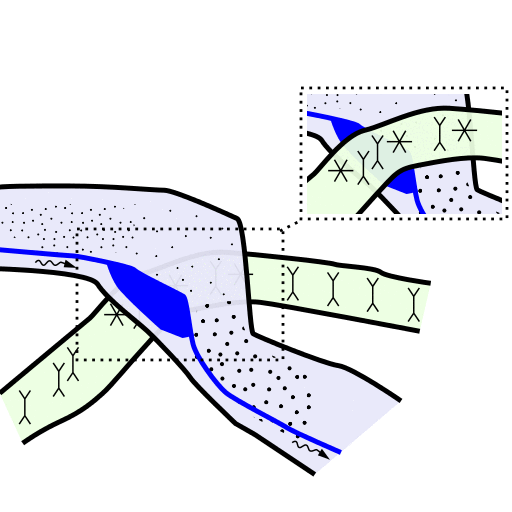
Re-order layers
Use the Layers dialog to re-order layers back to normal (ie. lower passage is hidden). Ordering in the window should not change!
Decorate
Draw nice frames around the conflict area so that everyone knows what is going on.
Keep working on the original drawing
We are done. If you change anything on the original drawing, the window will update automatically! But beware! Since the window references the original layers, you cannot move it into one of them, as it would create a looped reference. If you do it, the window contents will disappear. If you want to neatly group all your offset windows, simply create a layer for them.